Introduction to JPG to PES Conversion
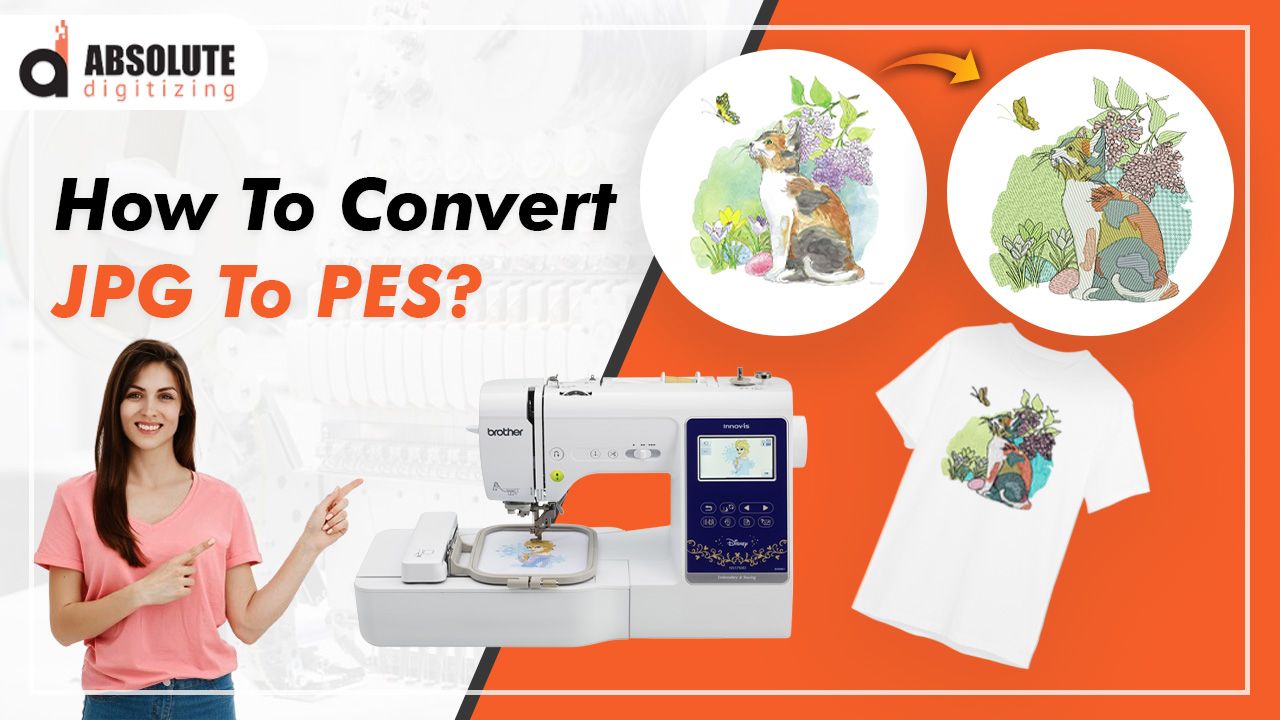
In the world of embroidery, converting a JPG image into a PES file is a critical step for turning a digital image into a design ready for embroidery. While JPG files are raster image formats best suited for photos and web graphics, PES files are specific to embroidery machines. This conversion process allows machines to “read” the design and reproduce it with stitches. A JPG to PES converter simplifies this task by transforming your digital images into files that embroidery machines can interpret and stitch onto fabric.
Why Convert JPG to PES?
For those who work with embroidery machines, converting images from JPG to PES is essential. PES files contain instructions for stitch placement, color, density, and direction, which are integral for accurate embroidery. In contrast, JPG files lack this data, as they are designed purely for visual display rather than instructional use. Converting JPG to PES allows users to recreate intricate designs, logos, and images on textiles, bringing digital artwork into a physical form.
How Does a JPG to PES Converter Work?
Understanding Digitization
The first step in converting a JPG to PES involves digitization, where the JPG image is translated into a format that can be embroidered. Digitization involves converting image data into stitch data, which tells the machine where and how to place stitches. Many JPG to PES converters use built-in algorithms that recognize shapes, edges, and colors to create a PES file that captures the essence of the original image.
Importance of Digitizing Software
A JPG to PES converter requires specific software that’s equipped for embroidery digitization. The software’s role is to map out stitch paths, define color changes, and set stitch density to ensure the final embroidered product closely resembles the original image. This software translates design elements into commands for the embroidery machine, including defining fill, satin, and running stitches that the machine will execute.
Choosing the Right Converter Software
Not all JPG to PES converters are created equal. When selecting software, look for converters with high customization capabilities, as they allow you to control details like stitch type and direction. Some of the most popular choices include software like Wilcom, Embrilliance, and Brother’s PE-Design, all of which offer precision tools and compatibility with multiple file formats.
Steps for Converting JPG to PES
Step 1: Import Your JPG File
Most JPG to PES converters start with importing your JPG file into the software. Ensure your image is clear and high-resolution, as poor image quality can impact the final embroidery result. High-quality JPG files allow for cleaner, more accurate stitching because the software can better detect outlines and color transitions.
Step 2: Adjust Image Settings
After importing the image, the next step is adjusting settings to enhance the image for conversion. Many software programs offer tools for resizing, cropping, or adjusting brightness and contrast. Optimizing these settings can improve the digitization process, as it allows the software to accurately identify important elements in the design.
Step 3: Outline Key Design Areas
Next, outline essential elements in the design to guide the converter on where to place stitches. Defining these areas allows the software to focus on the most important parts of the image, like text, logos, or detailed shapes. Outlining helps prevent the loss of detail during conversion, ensuring the final product remains true to the original image.
Step 4: Assign Stitch Types and Density
This is where the artistry of embroidery comes into play. Select stitch types based on the area of the design – for example, satin stitches for borders, fill stitches for solid areas, and running stitches for details. Stitch density controls the spacing between stitches, impacting how thick or light the final embroidered area will appear.
Step 5: Preview and Export the PES File
Before finalizing, preview the converted design to ensure it accurately reflects the original JPG. Make any necessary adjustments, then export the file in PES format. Many software programs provide a simulation feature, allowing you to see the design as it would appear in fabric form. Once satisfied, save the design in PES format, ready for embroidery.
Top Software Options for JPG to PES Conversion
1. Wilcom Embroidery Studio
Wilcom Embroidery Studio is known for its advanced features and precision in digitizing. This software provides tools for color blending, stitch effects, and texture customization, making it a top choice for professional use. Wilcom offers accurate stitch simulations, allowing users to preview designs before finalizing them.
2. Embrilliance Essentials
Embrilliance is a user-friendly software perfect for both beginners and experienced embroiderers. It supports various formats, including PES, and offers features like stitch editing, color customization, and resizing without distortion. Embrilliance is a versatile choice for those seeking reliable, high-quality results.
3. Brother PE-Design
PE-Design, developed by Brother, is specifically designed for Brother embroidery machines but supports multiple formats, including PES. This software provides comprehensive tools for stitch mapping, image tracing, and previewing. It’s a reliable choice for users who want compatibility with Brother machines while still accessing powerful design tools.
Common Challenges in JPG to PES Conversion
Low-Resolution Images
A common issue in conversion is starting with a low-resolution image, which can lead to pixelated and unclear designs. To avoid this, always use high-resolution JPG files. Low-res images make it difficult for software to detect outlines and fine details, resulting in poor stitch quality.
Complex Color Transitions
Some images have intricate color gradients that can be challenging to replicate in embroidery. While many converters offer color reduction tools, certain details may still be lost in translation. Simplifying the color palette or using stitch shading techniques can help maintain design integrity.
Incorrect Stitch Type Selection
Choosing incorrect stitch types can affect the quality and appearance of the final design. For example, using a fill stitch where a satin stitch is needed may make the design look bulky or unbalanced. Understanding stitch types and how they apply to different areas is essential to successful digitization.
Best Practices for Converting JPG to PES
Simplify Your Design
Intricate designs with numerous small details may not translate well into embroidery. Simplifying the design by removing unnecessary elements can lead to a cleaner, more refined final product. This is especially helpful when working with logos or text that may lose clarity when converted to stitches.
Test the Design on Sample Fabric
Before finalizing a large batch, test the design on a scrap of fabric similar to the final product material. This trial run allows you to assess the quality, adjust stitch density, and make other necessary tweaks to achieve the best result.
Use High-Quality Thread and Needles
The choice of thread and needle also impacts the appearance of the embroidery. High-quality thread provides a smoother finish and reduces the risk of breaks. Selecting the right needle size and type further ensures clean and consistent stitching, enhancing the look of the finished design.
Popular Applications of JPG to PES Conversion
Custom Apparel and Branding
JPG to PES conversion is widely used in custom apparel and branding. Many businesses use PES files to embroider logos onto shirts, hats, and jackets, creating a professional look that enhances brand identity. This conversion enables companies to personalize items in ways that printed designs cannot achieve.
Personalized Gifts and Crafts
Embroidery adds a personal touch to gifts and craft projects, making them unique and memorable. From monogrammed towels to custom artwork, JPG to PES conversion allows hobbyists and professionals to create personalized items with ease. It’s an excellent way to make one-of-a-kind pieces for special occasions.
Home Décor and Accessories
In home décor, JPG to PES conversion is useful for creating custom cushions, curtains, and wall art. By converting designs into PES files, designers can add a level of detail that enhances the aesthetic of home items. This application is popular for those seeking distinctive, high-quality embroidery work.
Conclusion
Converting JPG to PES is an essential process for anyone in the embroidery industry. It bridges the gap between digital design and physical embroidery, allowing intricate and vibrant designs to come to life on fabric. With the right tools and techniques, JPG to PES conversion enables precise, customizable, and high-quality embroidery suited for various applications. Whether for business branding, personalized gifts, or home décor, mastering JPG to PES conversion opens up countless possibilities in the world of embroidery.


