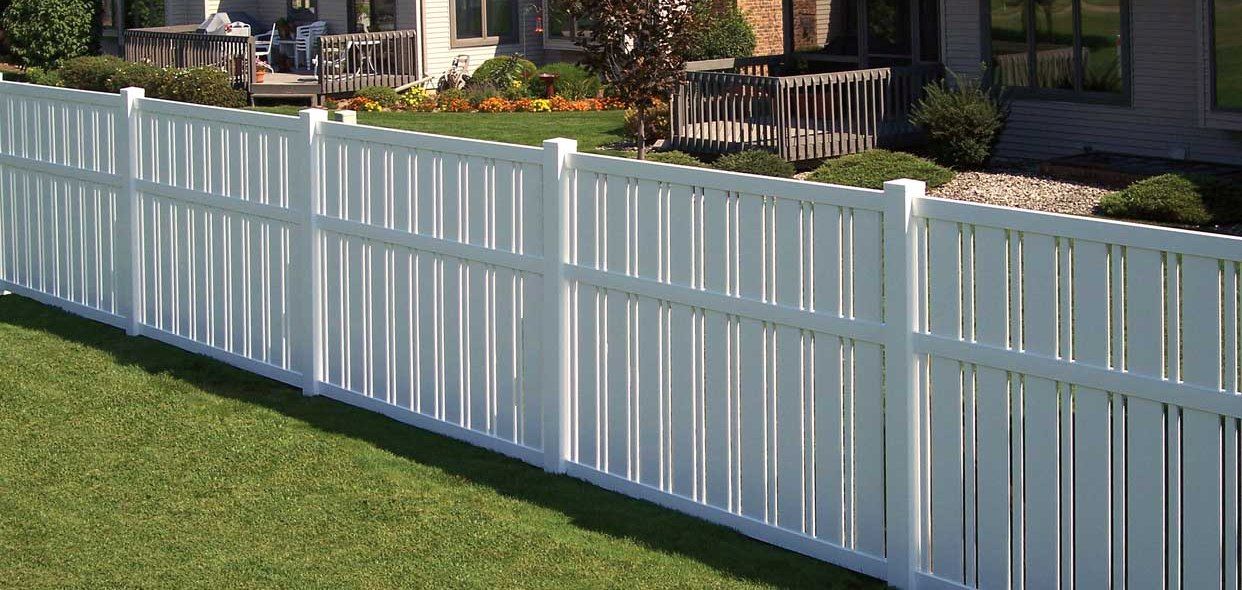
Vinyl fencing has become a top choice for homeowners due to its durability, low maintenance, and stylish appearance. If you’re planning to install a vinyl fence on your property, understanding the necessary steps can make the process smoother and ensure a long-lasting, attractive result. This checklist covers everything you need to know before, during, and after the installation to help you prepare for a successful project.
Why Choose Vinyl Fencing?
Vinyl fences are designed to provide both functionality and aesthetic appeal. They resist fading, cracking, and peeling, making them a reliable option for homeowners seeking a fence that requires minimal upkeep.
Key Benefits of Vinyl Fencing:
- Durability: Resistant to weather and pests.
- Low Maintenance: Requires only occasional cleaning.
- Versatility: Available in various styles and colors.
Pre-Installation Considerations
Before diving into the installation process, there are several factors to consider to ensure your vinyl fence meets your needs and complies with local regulations.
1. Determine Your Purpose
Are you installing a fence for privacy, security, or decorative purposes? Your goal will influence the type, height, and style of the fence.
2. Check Local Regulations
In Delaware and surrounding areas, fencing projects must comply with local zoning laws and homeowner association (HOA) guidelines. Obtain necessary permits before starting the installation.
3. Measure Your Property
Accurate measurements are crucial for determining the amount of material needed and for avoiding boundary disputes with neighbors. Mark the fence line clearly to ensure precision.
4. Choose the Right Fence Style
Vinyl fences come in various styles, including:
- Privacy Fences: For complete privacy and noise reduction.
- Picket Fences: For a classic, decorative look.
- Ranch Rails: Ideal for large properties or farms.

Preparing for Installation
Once you’ve completed the pre-installation steps, it’s time to prepare for the actual installation process. Proper preparation ensures the project proceeds efficiently and without unnecessary delays.
1. Gather Necessary Tools and Materials
Ensure you have all the tools and materials needed for the project. Common items include:
- Vinyl fence panels and posts
- Concrete for securing posts
- Measuring tape, level, and string
- Posthole digger or auger
2. Clear the Installation Area
Remove any debris, plants, or obstacles along the fence line. A clear area makes it easier to measure, dig, and install the fence posts.
3. Mark Post Locations
Use stakes and string to mark where each post will go. The spacing should match the specifications provided by the fence manufacturer to ensure stability and proper alignment.
The Installation Process
With proper preparation, the installation process can proceed smoothly. Follow these steps to ensure a professional-quality result.
1. Dig Post Holes
Using a post hole digger or auger, create holes for the fence posts. The depth should typically be one-third the height of the post for stability.
2. Set Fence Posts
Insert the posts into the holes and fill them with concrete. Use a level to ensure the posts are straight. Allow the concrete to cure before attaching fence panels.
3. Attach Fence Panels
Connect the vinyl panels to the posts using the hardware provided. Ensure each panel is level and aligned correctly. Adjustments may be necessary for uneven ground.
4. Add Post Caps
Finish the installation by attaching decorative post caps. These not only enhance the fence’s appearance but also protect the posts from moisture and debris.
Post-Installation Tips
After the fence is installed, take steps to maintain its condition and maximize its lifespan.
1. Inspect for Stability
Walk along the fence line to ensure all posts and panels are secure. Address any loose components immediately.
2. Clean the Fence

Vinyl fences require minimal maintenance, but regular cleaning helps maintain their appearance. Use a mild soap solution and a soft cloth or sponge to remove dirt and grime.
3. Monitor for Wear
Although vinyl is durable, it’s essential to periodically check for cracks or damage. Addressing minor issues promptly can prevent more significant problems later.
Choosing a Professional Installer
While some homeowners may opt for DIY installation, hiring a professional contractor ensures a flawless result. Professional installers have the experience and tools needed to handle complex projects and guarantee durability.
Benefits of Hiring Professionals:
- Expertise: Knowledge of local regulations and proper techniques.
- Efficiency: Faster completion time with minimal errors.
- Quality Assurance: Professional-grade materials and workmanship.
FAQs About Vinyl Fence Installation
1. How long does vinyl fence installation take?
The timeline depends on the size of the project and site conditions. Most installations are completed within 2–3 days.
2. Can vinyl fences withstand extreme weather?
Yes, vinyl fences are designed to resist wind, rain, and UV damage. However, proper installation is crucial for maximum durability.
3. How do I clean a vinyl fence?
Use a mild soap solution and a soft cloth or sponge. For tough stains, a pressure washer set to low pressure can be used.
4. Are vinyl fences environmentally friendly?
Yes, vinyl fences are recyclable, making them an eco-friendly choice for homeowners seeking sustainable options.
5. How long do vinyl fences last?
With proper care, vinyl fences can last 20–30 years or more, making them a long-term investment.
Conclusion
A well-planned vinyl fence installation enhances the beauty, privacy, and functionality of your property. By following this comprehensive checklist, homeowners in Delaware can ensure a successful project from start to finish. For professional vinyl fence installation, trust the experts at JPM Home Services. Call them today at (302) 598-6297 to get started. They proudly serve Delaware, Middletown, Maryland, New Jersey, and Pennsylvania.


